Pest Control Advice · LONDON
Mice after building work: what changed in your home?
A mouse sighting after a renovation does not prove where it came from. Use the timeline, openings and new signs to plan a sensible inspection and repair.
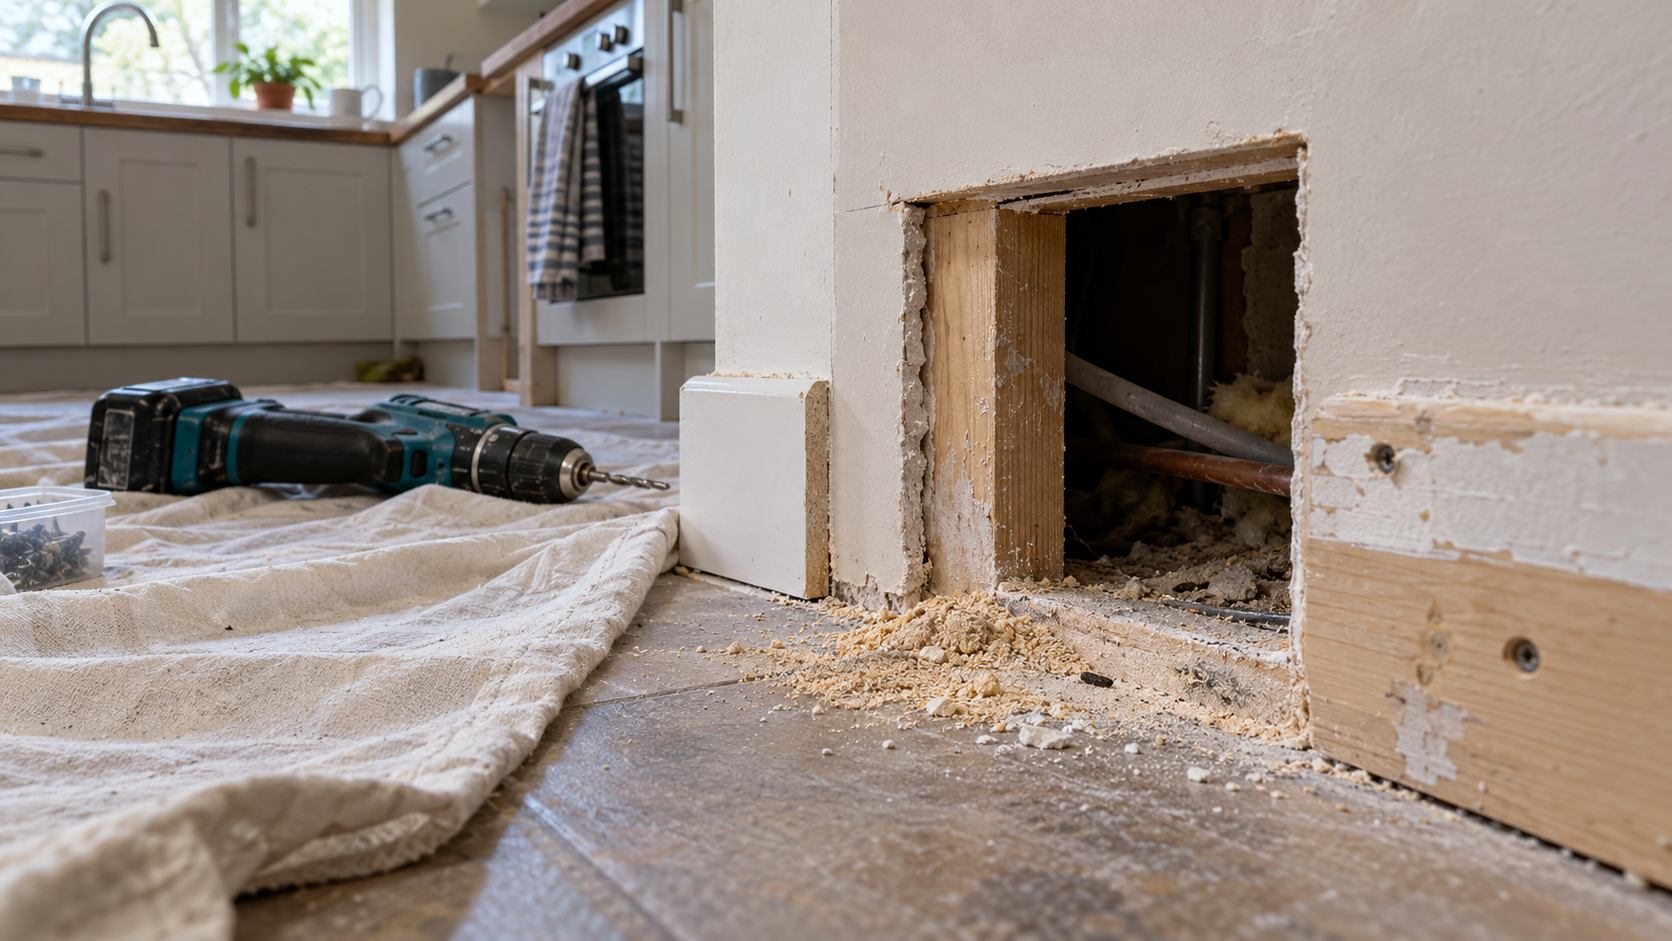
The first scratch in the kitchen wall arrives three evenings after the builders leave. A mouse appears beside the new units, and the natural conclusion is that the work brought it in. Sometimes an open external door or a newly exposed gap has provided an opportunity. In other cases, mice were already moving through a hidden void and the work has simply made them visible. The timing is useful evidence, but it is not a diagnosis or proof that a particular contractor caused the problem.
Building work changes routes through a property. Kickboards come off, floorboards are lifted, old pipe holes are exposed and materials are stacked where access was previously clear. This guide helps you reconstruct what changed, make the site less inviting, and give a pest inspector and builder the information they need to resolve the issue. It focuses on the period during and just after a renovation rather than general mouse proofing.
Three explanations for a sudden sighting
First, a gap may genuinely be new. A kitchen extension might leave a service penetration unfinished overnight, or a removed door might mean an external opening is held ajar while materials are carried through. A mouse needs only a small opening. Oxford City Council’s mouse advice describes access through gaps around pipes and notes that activity can be hidden under floors or within wall cavities.
Second, the route may be old but newly exposed. Removing a cabinet can reveal a hole behind it that has been present for years. Dust and noise may change where a mouse feels comfortable moving, so the first visible sighting follows the work even though the population did not begin that week. This is a possibility to investigate, not a claim about how every mouse behaves.
Third, the work may have changed food, water or shelter. A temporary kitchen, uncovered food, stacked cardboard or bins moved near a door can make one area more attractive. Conversely, removing a long-standing food source may cause activity to be noticed elsewhere. The question is which of these changes fits the evidence on your site. Panther’s older guide on where mice come from covers general routes and attractants; the focus here is the sequence around the building work.
Make a timeline before the details are forgotten
Write down the last date you had no known signs, the dates when parts of the building were opened, and when you first heard or saw something. Include rooms where work took place and rooms where signs appeared. A simple sketch can be more useful than a long description: mark the new units, lifted boards, pipe and cable runs, external doors, waste storage and the first sighting. Keep observations separate from assumptions. “Droppings beside the utility cupboard on Thursday” is evidence; “the builder let mice in” is a conclusion that needs support.
Ask the contractor which openings were created, which are temporary and which have been closed. There may be photographs from before the wall was covered or a list of services installed through it. Keep the conversation practical. The aim is to locate routes, restore the intended building detail and coordinate access, not to decide responsibility from a single sighting. If work continues, note which room will be opened next so an inspector can see it before it is closed again.
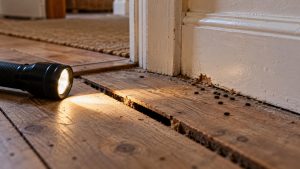
Photograph signs in place from two distances: enough of the room to locate them, then a clear close view. Do the same for a suspect opening without moving a fitting or reaching into a void. Label images with dates and room names. A fresh layer of building dust makes tracks or droppings more visible, but it can also cover older marks. A photo taken now gives you a baseline for what changes over the next few days.
Check the work zone without disturbing hazards
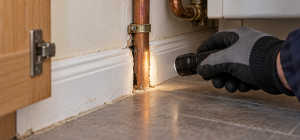
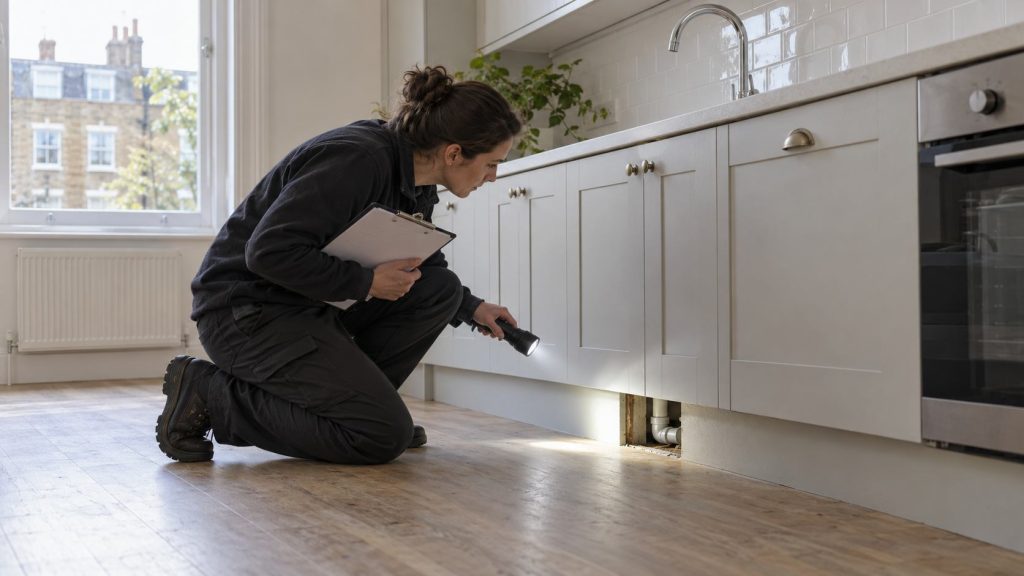
Look from accessible positions along the route the work affected. In a kitchen, that might mean the edge of a kickboard, the floor where a unit was removed, a redundant pipe hole or the meeting point between an extension and the older wall. Outside, note the position of a new service penetration, altered vent, door threshold or builders’ waste area. Do not assume every hole is an entry point. Some finish inside a cavity or are deliberately left for ventilation or movement around a service.
Do not pull apart a recently installed kitchen to investigate on your own. Leave electrical fittings, gas pipework, plumbing connections, air vents and fire-stopping to the relevant competent trade. If the work is in an older property, there may also be material hazards unrelated to pests. The Health and Safety Executive’s guidance for workers says the likelihood of disturbing asbestos should be established before work affects building fabric. If a suspect material has been uncovered, stop intrusive investigation and raise it with the contractor or person managing the work.
That boundary still leaves plenty you can record safely. Note whether a gap is open to the outside, whether it is beside a live service, whether you can see repeated signs nearby and whether it has been temporarily covered for the duration of work. If you cannot see behind a unit or into a shared riser, say so. An honest limit is better than a confident guess.
Keep food, materials and access under control while work continues
A building site is rarely as orderly as a finished home, but a few routines matter. Put food and pet feed in closed containers, clear food waste each evening and keep bin lids closed. Avoid leaving plates, crumbs or packaging in a temporary kitchen overnight. Move cardboard and soft packaging off the floor where practical, so signs are easier to spot and materials are less likely to become hiding places. These steps will not remove an established mouse problem, but they make the environment easier to assess.
Ask the contractor to account for open external doors and penetrations at the end of each day. A temporary cover should be suitable for the location and must not obstruct ventilation, drainage or essential service access. It should not be treated as the final proofing detail. The finish may need a builder, plumber, electrician or another specialist, depending on what the opening surrounds. Take a photograph of the temporary state and arrange a clear handover for the permanent repair.
Store skips and waste so that loose food packaging does not collect around them. If garden work or an extension has changed the outside boundary, include that in your notes. A tidier site reduces extra attractants, but it does not tell you whether the mouse came from outside, an adjoining property or an existing internal void. Keep investigating the route rather than relying on housekeeping alone.
Do not seal a route solely because it looks open
There is a strong temptation to fill the first gap you find. That can hide the evidence before anyone has checked whether it is used. It may also leave active mice inside the structure, shift movement to another opening or interfere with a service. An opening through a wall and an indoor opening into a void are different problems; both sides need to be understood. A professional can decide how to monitor activity and when final proofing should happen.
Our existing article on sealing entry points for mice discusses structural proofing and materials. In the first days after building work, concentrate instead on identifying which route is relevant and who can safely finish the building detail. Ask for a record of what was closed, on which side, and whether ventilation and future maintenance access remain intact. A photograph of the completed repair is useful if signs return.
If a contractor says the gap was present before their work, that may be true and still leave a current problem to solve. If they say they have sealed it, ask how they checked the connection to the outside or the adjoining void. Neither answer replaces a pest inspection when signs continue. A practical handover between trades avoids repeated work and arguments based on incomplete information.
Decide whether the signs are current
One dropping found behind a cabinet could have been there before the renovation. Repeated new droppings, gnawing on fresh material, tracks in clean dust or sightings on different days point more strongly to current activity. Do not handle droppings to judge their age. Photograph the place, protect people and food from contamination, and ask for advice on safe cleaning. If the room is used to prepare food, take the finding seriously even if the source is uncertain.
Sounds alone need care. Building fabric can creak after work, and pipes can tick as they heat or cool. Record the time, exact location and whether the noise repeats when the room is quiet. If you can do so safely, note other signs close to that location. Avoid opening a wall purely because one sound seems to come from it. A pest inspection can assess several clues together and identify where a more targeted look is worthwhile.
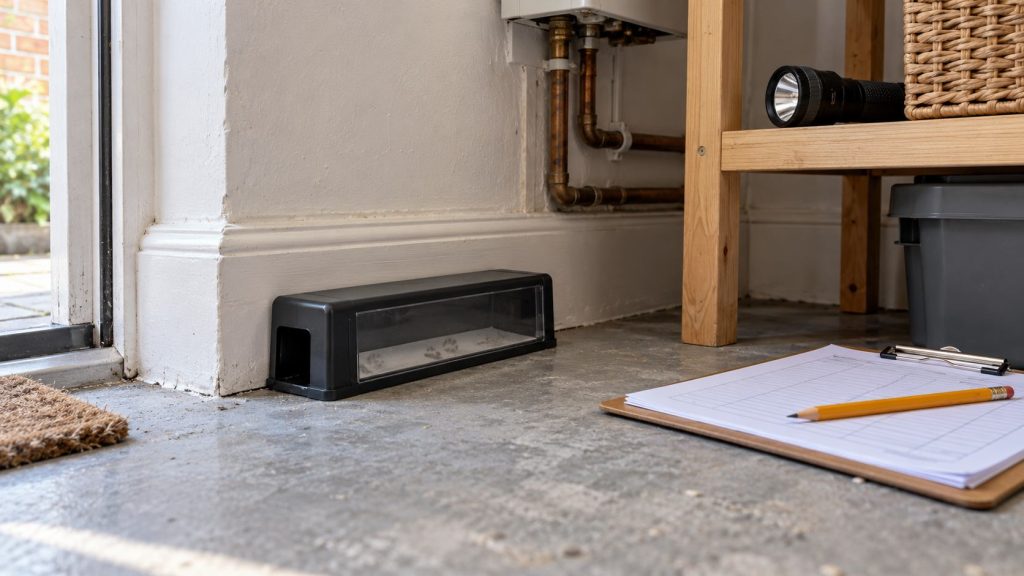
When activity is established, ask how the control plan fits around the building schedule. Treatment, monitoring and final proofing should be coordinated so fresh finishes do not conceal the route. Panther’s mice control service explains the professional process. Do not place traps or rodenticide in a busy work zone without considering children, pets, workers and the instructions for the product. A technician can choose a safe approach for the occupied and unfinished areas.
In flats, check who controls the shared route
A new kitchen in one flat may connect to a riser, floor void or service space that serves others. Your builder may have access only to your side of the wall. If signs appear near a shared enclosure, tell the landlord or managing agent which room and service are involved, what was opened, and when the signs began. Ask who can provide access and whether other flats have reported activity. Do not enter a locked communal space or fill a shared penetration without the necessary approval and trade advice.
The same point applies to a terraced house or converted property. A gap seen in your room may not be the original entry point. Mapping the whole route can take longer than sealing a single visible hole, but it gives the repair a better chance of lasting. Keep neighbours informed of observable facts if coordination is needed, without asserting where an infestation started.
A useful handover when the builders leave
Before the final sign-off, ask for a list of temporary openings that have been closed and any that remain accessible. Confirm who is responsible for finishing penetrations around each service and whether a follow-up visit is planned. Keep a copy of relevant photographs and note any areas the builder could not inspect. If there has been mouse evidence, tell the pest specialist which surfaces and units are about to be covered so they can advise on timing.
For the first week after the repair, use the same few observation points instead of checking every cupboard repeatedly. Note dates of new signs, maintain food and waste routines, and report changes. If there are fresh droppings or sightings, the route or activity may still need investigation. If there are none, keep the repair record; it can help if building work takes place again later.
Seeing a mouse after a renovation is unsettling, especially when the work was meant to improve the home. Treat the sequence as a set of clues: what was opened, what was exposed, what changed outside and where signs appeared. With those details, a pest inspector and the relevant building trade can decide what needs treatment and what needs repairing. To discuss the evidence and access arrangements, contact Panther Pest Control.

Al Joel is a practical writer and long-term property maintenance specialist focused on real-world pest control, home safety and prevention advice. His guides translate common warning signs into clear next steps for homeowners, tenants, landlords and property managers.His approach begins with correct identification. A sighting in one room may originate from a neighbouring flat, service riser, drainage, roof space, delivery or communal waste area. Al explains how to preserve useful evidence, reduce food and water sources, avoid spreading activity and choose proportionate treatment.What readers can expectClear identification clues and practical inspection stepsSafe preparation, cleaning and aftercare guidancePrevention advice for homes, flats and commercial premisesHonest guidance on when DIY is reasonable and when professional help is the smarter optionWhen professional help makes senseRepeated sightings, activity in several rooms, uncertain identification, vulnerable occupants or signs involving food, electrics and shared building routes deserve a professional inspection. A lasting solution normally combines targeted treatment with proofing, hygiene and follow-up monitoring.Explore the Pest Library, learn how treatment works, or request property-specific advice.