Pest Control Advice · LONDON
Mice in an Empty Property: Inspection Before Reoccupation
A vacancy can hide mouse activity or preserve old signs. This inspection guide helps landlords and agents document the evidence and make a sound reoccupation decision.
An empty flat can appear ready for new occupants until the final visit reveals a few pellets beneath the sink or a rustle behind the kitchen units. The absence of people does not tell you whether mice are still present. It may simply mean nobody was there to notice them. Equally, old signs can remain after a problem has ended. Before keys change hands, the useful task is to establish what is fresh, find the route and leave a clear record of what has been checked.
This guide is for landlords, letting agents and property managers preparing a vacant UK home for reoccupation. It covers a safe visual inspection and the handover decisions that follow. It does not assume every mark is a mouse sign or recommend placing poison in an unattended property. If activity is confirmed or the route cannot be assessed, arrange a competent pest inspection early enough to complete any treatment and proofing before someone moves in.
Start with the property’s recent history
Ask when the last occupant left, when the property was cleaned and whether there were earlier pest reports. Find out if contractors have since opened boxing, replaced appliances, altered plumbing or removed a fitted kitchen. A pellet found after months of vacancy is harder to date than one that appeared after a documented clean. Previous treatment records, invoices and photographs can help, but do not treat a quiet period on paper as proof that an entry route has closed.
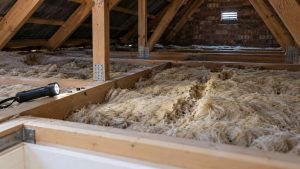
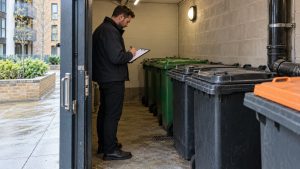
Make a short timeline that a new inspector can use: last occupied, last cleaned, any sighting, any repair and the planned move-in date. Record who has keys to adjoining cupboards, risers, lofts and communal rooms. In a flat, the cause may lie in a shared route that an individual landlord cannot open without the managing agent. This early access check avoids arranging a visit that cannot reach the relevant void.
Inspect the edges before the middle of the room
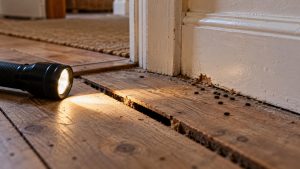
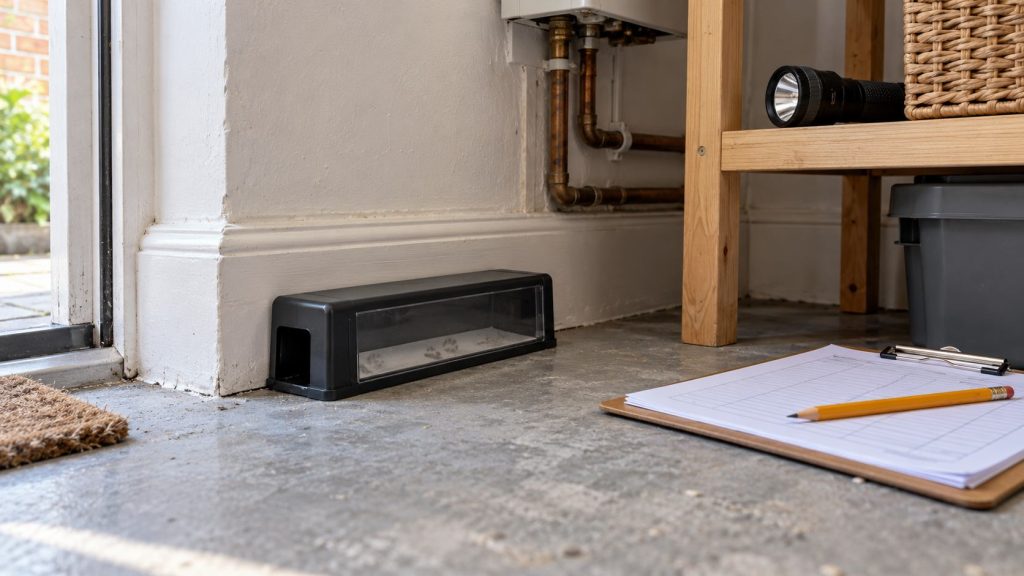
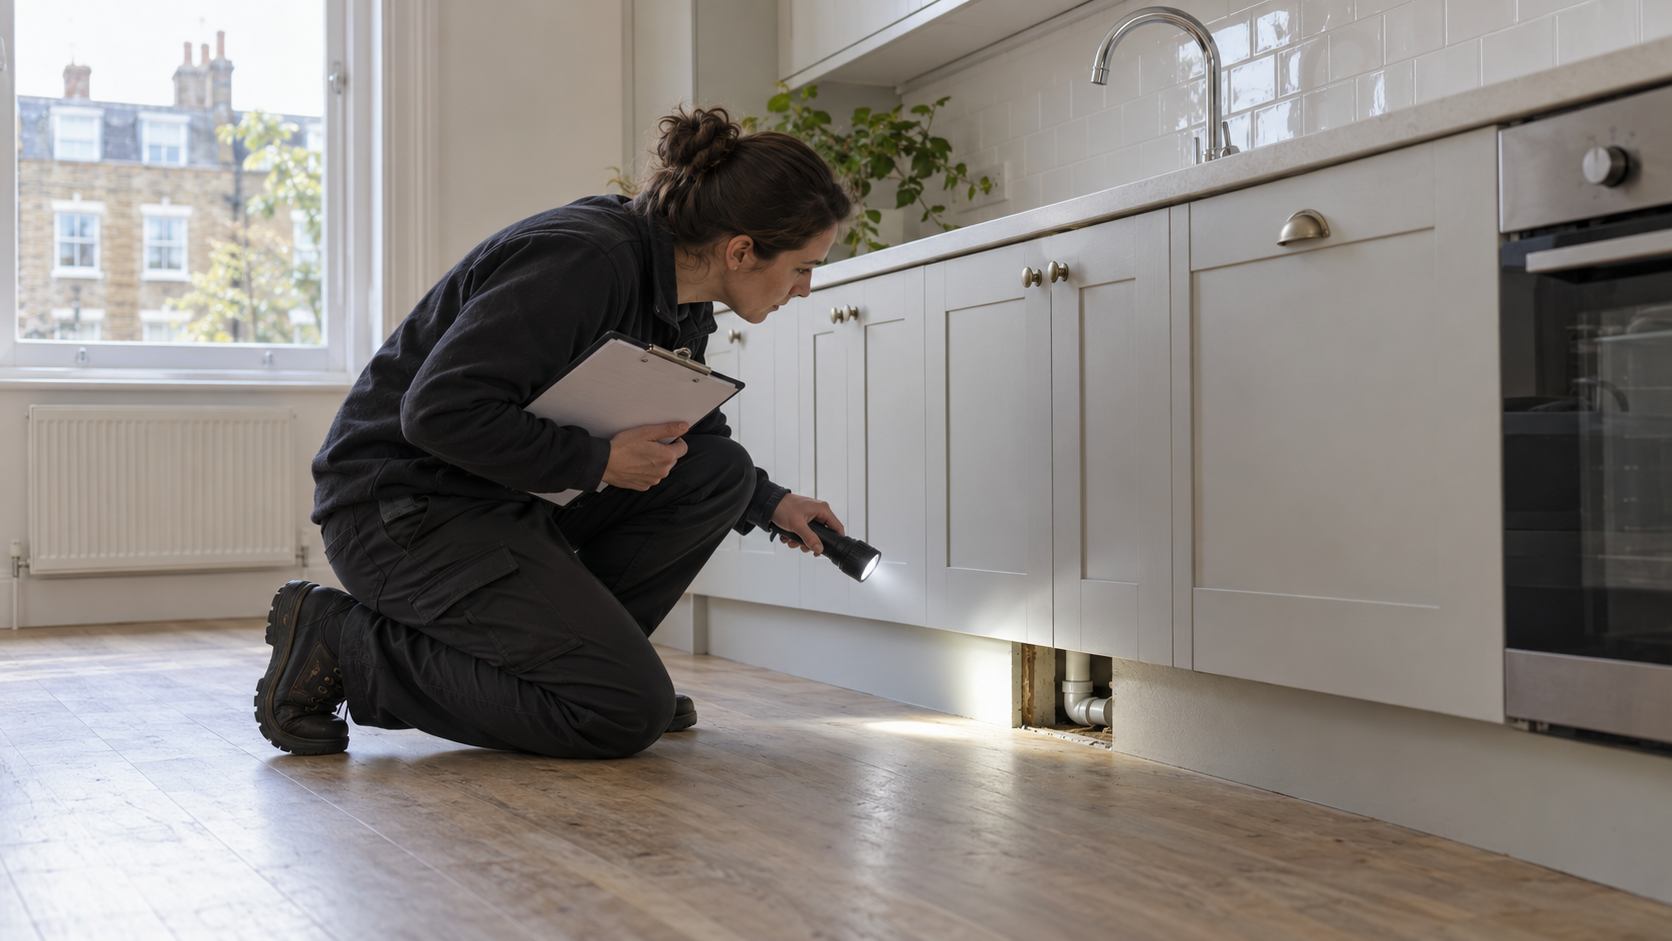
Walk the property in a consistent order. In the kitchen, look along skirting boards, behind accessible plinths, beneath the sink and near service pipes. Then check utility cupboards, airing cupboards, meter spaces and the edges of storage rooms. Use a torch from a standing or kneeling position. Photograph the whole fixture and then the specific mark so its location is clear. Do not pull out a cooker, open electrical covers or remove fixed boxing simply to look further.
Look for pellets, gnawing, shredded material, greasy marks, disturbed dust and damaged food packaging left behind. None is conclusive in isolation. A dark speck might be old debris; a gap by a pipe may lead only into a sealed cabinet. If you find possible droppings, do not sweep or vacuum them dry. Leave the area undisturbed until an appropriate cleaning plan is in place. The site’s guide to mouse and rat droppings helps explain why size alone should not decide the species.
Check spaces that vacancy changes
Vacancy alters the building’s routine. Food may have been removed, but a dripping tap, condensation or standing water beneath an unused sink can remain. A bin left behind may still hold crumbs. With no daily movement, a warm cupboard or service void can stay undisturbed. A door may have been left open for contractors, or a temporary opening around a new pipe may not yet have been made good.
Inspect these conditions without assuming they are the source. Note leaks, broken seals, incomplete repairs and gaps with a location and photograph. Ask the relevant trade to assess any plumbing, drainage or electrical defect. Where work has disturbed old routes, compare the area with earlier condition photographs if available. A neat new kitchen front can conceal an unfinished opening behind it; the repair needs to address the route rather than only the visible finish.
Separate old evidence from a current problem
A property that has been empty for weeks may contain marks from a previous episode. Freshness is easier to assess when there is a known clean baseline. If the area can be cleaned safely, record its state first, arrange appropriate cleaning and photograph it afterwards. Recheck the same places on later visits. New signs in a previously clean location are more informative than a single undated pile of debris.
Do not use a finger or tissue to test whether a dropping is “fresh”. Handling possible rodent material creates avoidable exposure and can erase the evidence. An absence of signs during one short visit is also limited evidence: mice may use concealed routes and move when the property is quiet. If the move-in date is close, a professional assessment may be preferable to waiting for a casual sighting. For the broader distinction between a sighting and unexplained marks, see droppings without seeing a pest.
Map likely access without unsafe DIY proofing
Record visible openings around pipe penetrations, service ducts, door thresholds, vents and damaged skirting. In a house, include the external wall and any outbuilding route. In a flat, note which openings connect to communal risers or neighbouring units. A simple sketch showing room, wall and opening reference is more useful than a list of “holes”. Photograph both sides only when they are safely accessible.
Do not seal every opening immediately. If an animal may still be inside a void, a rushed closure can redirect it or leave it trapped. Foam alone is rarely a lasting rodent barrier, and a seal must not compromise ventilation, fire stopping or access to services. Agree the proofing material and sequence with a competent pest professional and the building contractor. Where gas, electrics or drainage are involved, the appropriate trade must handle its own service.
Plan treatment around the handover date
Once an inspector confirms activity, ask for a written plan with the identified evidence, proposed control, safety precautions, visit dates and measures of progress. Tell the technician that the property is vacant and give the planned occupancy date. Access may be easier now, but an unattended flat also needs secure doors and clear responsibility for checking any monitors or devices. Do not place retail bait and then forget it when tenants arrive.
Allow time for follow-up. A single visit may establish the route but not yet demonstrate that activity has stopped. Ask what evidence the technician expects to see at the next check and which repairs can proceed before then. Coordinate cleaning, proofing and any appliance installation so one contractor does not cover a monitoring point or reopen a gap that another has just sealed. The site’s mice control service describes the professional route when a live problem is found.
Make cleaning safe and verifiable
Cleaning is part of making the home ready, but it should follow the risk assessment for the material present. Do not dry sweep or vacuum suspected rodent droppings or nests. Keep cleaners informed of the exact locations and the inspector’s advice. Remove discarded food, protect clean utensils and arrange appropriate disposal of contaminated porous items. If a cupboard has to be emptied, document what was found before everything is mixed together.
After cleaning, photograph the same corners used in the initial record. This provides a baseline for later monitoring and prevents old marks from being reported repeatedly as new activity. Note the cleaning date and whether any area could not be reached. A polished floor is not evidence that concealed routes have been resolved, so keep the cleaning record separate from the pest inspection and proofing record.
Agree a reoccupation decision in writing
Before releasing keys, review three questions: is current activity still indicated, have the identified entry routes been addressed, and is any monitoring or treatment compatible with occupation? The answer should come from the recorded evidence and the pest professional’s findings, not a vague “looks fine”. If access to a communal riser or a neighbour’s space is still needed, say so and record who is arranging it. Do not promise a pest-free building based on one unit’s clean-up.
Give incoming occupants clear, proportionate information where relevant: which areas were checked, what work was completed, whom to contact if they see a new sign, and any specific aftercare instructions from the technician. Avoid alarming language and avoid hiding an unresolved issue. Keep dated reports, photographs, contractor notes and repair confirmations together so a future complaint can be judged against a reliable baseline.
Use a final walkthrough checklist
On the last visit, check under the sink and around service entries; skirting and accessible cupboard edges; plumbing leaks; the door threshold; leftover food and rubbish; any agreed monitoring points; and the status of each repair. Compare current photographs with the first set. Mark each item as clear, needs work or not accessible, with the person responsible and a date. “Not accessible” is an honest result that can be acted on; “no issue” without an inspection is not.
If fresh signs appear, pause the handover decision and seek advice rather than improvising a treatment hours before move-in. If the inspection is clear and repairs are complete, keep a simple early-occupancy reporting route so a new sighting is dealt with promptly. For a property-specific assessment or to arrange follow-up, use the contact page and include the timeline, photographs and planned reoccupation date.

Al Joel is a practical writer and long-term property maintenance specialist focused on real-world pest control, home safety and prevention advice. His guides translate common warning signs into clear next steps for homeowners, tenants, landlords and property managers.His approach begins with correct identification. A sighting in one room may originate from a neighbouring flat, service riser, drainage, roof space, delivery or communal waste area. Al explains how to preserve useful evidence, reduce food and water sources, avoid spreading activity and choose proportionate treatment.What readers can expectClear identification clues and practical inspection stepsSafe preparation, cleaning and aftercare guidancePrevention advice for homes, flats and commercial premisesHonest guidance on when DIY is reasonable and when professional help is the smarter optionWhen professional help makes senseRepeated sightings, activity in several rooms, uncertain identification, vulnerable occupants or signs involving food, electrics and shared building routes deserve a professional inspection. A lasting solution normally combines targeted treatment with proofing, hygiene and follow-up monitoring.Explore the Pest Library, learn how treatment works, or request property-specific advice.