Pest Control Advice · LONDON
Bed Bug Eggs or Bedroom Debris? Check the Evidence
Tiny white specks are easy to misread. This guide shows how to inspect seams, record scale and look for other signs without spreading or destroying evidence.
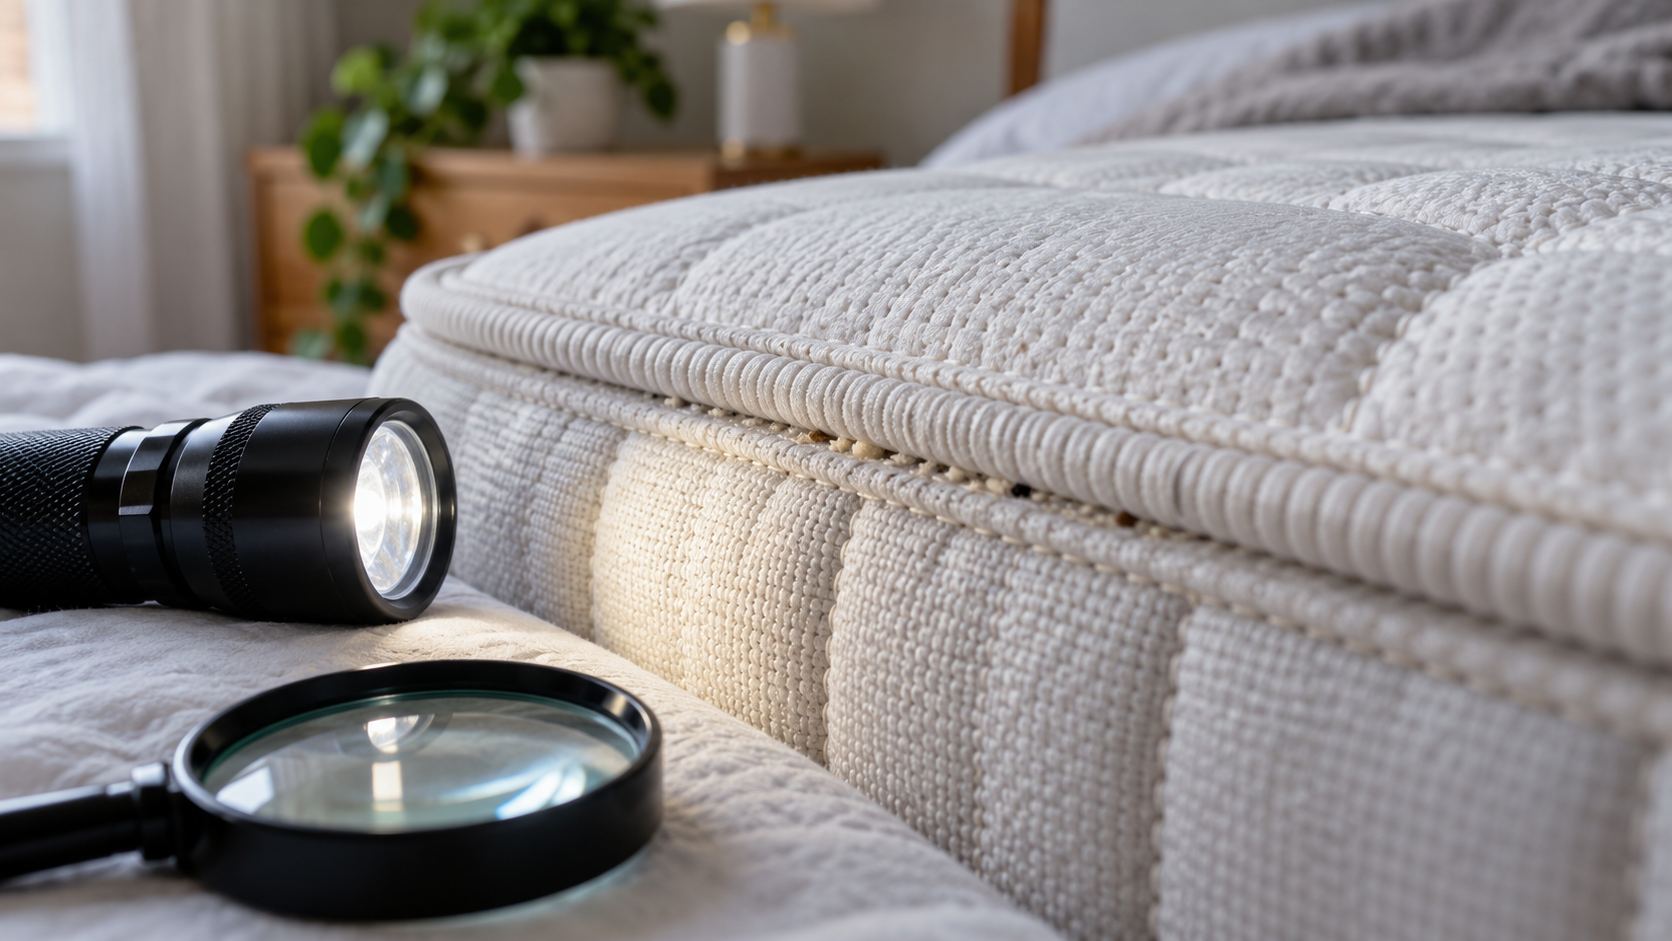
A line of pale specks in a mattress seam can send anyone straight to an image search. The trouble is that the search image has no scale, and the seam in front of you has its own history: loose fibres, dried detergent, crumbs and fragments of foam can all collect where two pieces of fabric meet. One white fleck is not a diagnosis. Nor does the absence of flecks rule out bed bugs.
The useful approach is to keep the scene intact long enough to examine where the material is, how it sits on the surface and whether other physical signs are present. This guide helps you carry out a limited visual check and describe an uncertain finding clearly. It does not replace identification of an insect or a professional inspection.
What a genuine bed bug egg might look like
Bed bug eggs are very small, around 1 mm, and pale to whitish. They are placed in sheltered locations rather than scattered across the middle of a sheet. The US Environmental Protection Agency describes eggs and eggshells as tiny and lists mattress piping, seams, tags, bed frames and headboards among places to inspect. The British Pest Control Association also lists pale eggs, empty shells, cast skins and dark spotting among physical signs around sleeping furniture. Neither source suggests diagnosing a room from one speck in isolation.
One useful detail is attachment. An egg is deposited onto a surface and can appear fixed in a crevice rather than lying loose like a grain of dust. But “stuck” is not proof: dried detergent, paint, food and adhesive residue also cling to fabric or timber. Do not scrape at the mark to test it. You may destroy the only sample, move it to another place or lose the original position that made it interesting.
Colour is particularly deceptive. A white mattress can make pale material hard to see, while a torch can turn lint into a bright oval in a photograph. Camera sharpening can make a fibre end look smooth, and a close crop without scale makes a 1 mm particle appear as large as an adult insect. Treat shape and colour as observations to report, not as a verdict.
Common bedroom material that can mislead
Loose threads and pilling often gather at piping and stitched labels. Pull a clean section of the same fabric into view and compare its fibres without picking at the suspect cluster. If similar pale ends appear along an entire seam, fabric wear may explain them. A foam mattress or topper can shed small crumbs at a torn edge. A feather or synthetic duvet may release tiny pale fragments after washing. None of these facts proves that a particular speck is harmless; they give you ordinary alternatives to consider.
Detergent residue and dried skin flakes can settle in the same places. Dust and crumbs can lodge beside the bed frame after a suitcase is unpacked or a snack is eaten. A newly assembled bed may also have sawdust or packing material in a joint. Ask when the furniture was last moved, cleaned or delivered. A discovery made just after a change may have a mundane explanation, though the timing cannot rule out insects.
Other insects leave eggs or shed material too. At normal viewing distance, a tiny pale object may not be identifiable even to someone who has seen bed bugs before. Do not infer that every small white egg in a bedroom belongs to one species. If the material is isolated and the photograph is unclear, an inspector may need a physical specimen or a clearer view of the surrounding signs.
Inspect in a sequence that preserves the evidence
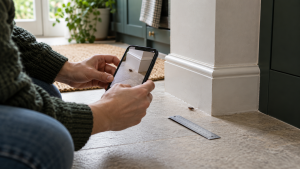
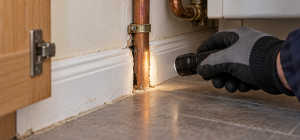
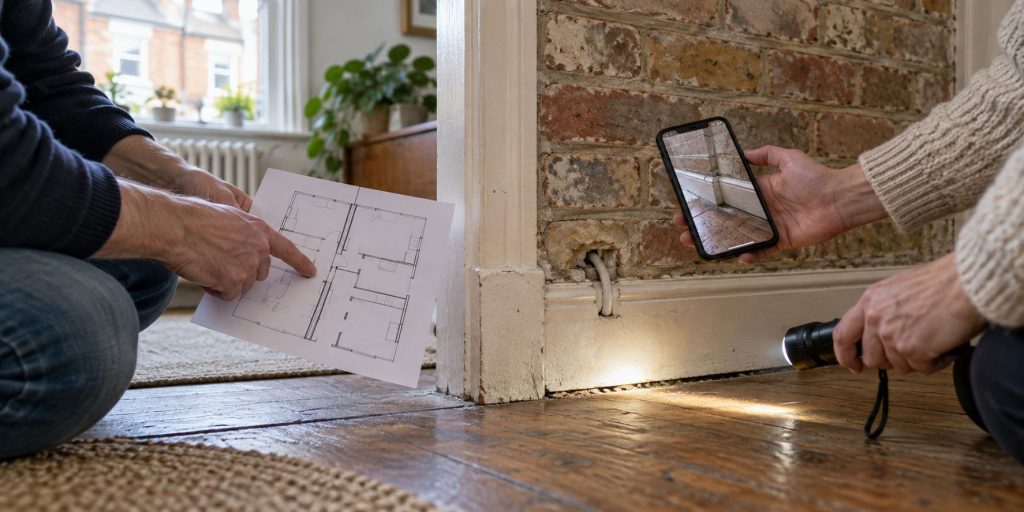
Start with the bed as it stands. Photograph the full mattress edge and the location of the suspected specks before removing a sheet. Then take one closer photograph with a fixed reference such as the width of the piping or a nearby stitching pattern; measure that reference separately. A small torch aimed along the seam can reveal raised objects without a harsh flash. A simple hand magnifier may help you see form, but it does not turn an ambiguous object into an identified egg.
Check accessible seams, piping, labels and the bed-frame joints nearest the sleeping position. Look at the headboard and the underside of accessible furniture edges. The EPA’s bed bug inspection guidance describes these sheltered locations and warns that early infestations can be difficult to detect. You do not need to dismantle an electrical socket, pull off fixed trim or drag a mattress through the house. If a joint cannot be seen safely, record that limit.
Keep a simple room map: the side of the bed, the seam or screw hole, the date and any item that recently arrived. If you are inspecting a sofa where someone sleeps regularly, use the same local approach rather than moving cushions into another room. The point is to locate the finding accurately for a second look. A dozen unlabelled macro photographs of white flecks are much less useful than three clear images showing context, detail and scale.
Look for independent signs nearby
A suspected egg becomes more concerning when there are other signs in the same sheltered area: a live insect, a recognisable cast skin, or dark faecal marks in a cluster. The BPCA bed bug advice includes these as physical signs and cautions against relying on bites alone. A dark mark can also be ink or an old stain, so its position and pattern matter. If you find a live insect, a clear photograph or safely contained specimen can allow a more definite identification than a possible egg photograph.
Be careful with skin reactions. The NHS describes bites as one possible sign, but skin marks vary between people and have other possible causes. Someone in the same bed may have no visible reaction. A night of itching after reading about bed bugs can feel persuasive without establishing what is in the room. Put the physical evidence in the foreground and seek medical advice for symptoms separately if needed.
No second sign does not guarantee a clear room. A small population can be hard to find, and bed bugs can hide beyond the first seam you inspect. Equally, finding a few pale particles does not justify treating a whole flat. A useful decision records both what was found and what was actually checked. “No other sign in the two mattress seams and headboard joint I could reach” is more informative than “no bed bugs anywhere”.
What to do with an uncertain sample
If you can safely collect a loose, intact insect, place it in a clear sealed container and label where and when you found it. For a suspect egg fixed in a seam, do not cut out fabric or tape over a broad area without advice. Photograph the exact location and ask whether a technician wants the item left undisturbed. A swab, vacuum or spray can remove evidence while failing to address any hidden insects.
Keep the suspect bedding and furniture in the room until the next step is agreed. Carrying an unbagged pillow or chair into another room can spread an existing problem. Throwing out a mattress on the strength of one speck may create expense without solving anything. The site’s wider bed bug control guide deals with containment and treatment after identification; this article is deliberately about the earlier identification decision.
Avoid using an insecticide, fogger or improvised heat treatment on an unconfirmed finding. Such actions can make later inspection harder, affect materials and expose occupants unnecessarily. If a professional has already treated the room, tell them the date, method and exactly where the suspected specks appeared. They can compare it with the planned follow-up rather than assuming that every pale mark is a treatment failure.
When a professional inspection earns its place
Ask for a pest inspection if the same suspicious area changes, if a live insect or cast skin is found, if dark marks accompany the specks, or if you cannot inspect the relevant furniture safely. A technician should explain which observations support identification and which remain uncertain. Where evidence is weak, a monitoring plan or a revisit can be more honest than immediate treatment.
Tell the inspector which rooms are used for sleeping or long periods of sitting, whether second-hand furniture or luggage has recently arrived, and whether anything has already been moved or sprayed. Show wide and close photographs together. If you live in a flat, mention shared rooms only when there is evidence or a management reason to do so; a single ambiguous fleck is not a sound basis for alarming neighbours.
If bed bugs are confirmed, the company’s bed bug treatment page explains that the affected areas and preparation need to be matched to the inspection result. Ask which pieces of furniture require attention, what should stay in the room, and how progress will be checked. A confirmed egg may show that bed bugs have used that spot, but it does not by itself reveal the full extent of activity elsewhere.
A practical conclusion for the first evening
Write down the location and take a few well-framed photographs. Check accessible bed seams and nearby joints for independent physical signs. Stop before the search becomes a destructive dismantling project. If the material remains unidentified, keep the item in place and describe the uncertainty plainly. That gives a professional a better starting point than a confident label drawn from a pixelated phone image.
Small, pale and seam-bound are useful clues, but they are not a complete identification. An egg-sized speck may be debris, another insect’s material or bed bug evidence. The next step follows the quality and pattern of evidence, not the strength of the worry. You can send the images, room location and observation dates through the site’s contact page to discuss an appropriate inspection.

Al Joel is a practical writer and long-term property maintenance specialist focused on real-world pest control, home safety and prevention advice. His guides translate common warning signs into clear next steps for homeowners, tenants, landlords and property managers.His approach begins with correct identification. A sighting in one room may originate from a neighbouring flat, service riser, drainage, roof space, delivery or communal waste area. Al explains how to preserve useful evidence, reduce food and water sources, avoid spreading activity and choose proportionate treatment.What readers can expectClear identification clues and practical inspection stepsSafe preparation, cleaning and aftercare guidancePrevention advice for homes, flats and commercial premisesHonest guidance on when DIY is reasonable and when professional help is the smarter optionWhen professional help makes senseRepeated sightings, activity in several rooms, uncertain identification, vulnerable occupants or signs involving food, electrics and shared building routes deserve a professional inspection. A lasting solution normally combines targeted treatment with proofing, hygiene and follow-up monitoring.Explore the Pest Library, learn how treatment works, or request property-specific advice.