Pest Control Advice · LONDON
How to Photograph Pest Evidence for Identification
A practical guide to recording clear pest evidence with a phone. Learn which views and notes help identification, what photographs cannot prove, and when to arrange a professional inspection.
A blurred close-up of a tiny black speck rarely answers the question a household really has: what is happening, where is it happening, and does it need attention now? A useful pest photograph shows more than a possible insect. It shows scale, surroundings and a pattern. Those details help an inspector ask better questions, even when the picture alone cannot identify a species.
You do not need a specialist camera or to move contaminated material. A phone, good light and a short written note are usually enough. The aim is to record what you found without disturbing a nest, scattering insects, touching droppings or putting yourself at risk. This guide explains how to make a simple evidence record in a UK home or workplace, and when to stop taking pictures and arrange an inspection.
Start with the question you need answered
Before you take a photograph, decide what it should show. Are you trying to identify an insect, demonstrate that activity has returned after treatment, show where a gap leads into a wall, or record damage for a landlord? Each question needs a different view. A close-up may help with identification, but it cannot show whether the insect was beside a window, a bed or a food cupboard. A wide shot gives that context, but may not show useful body details.
Take a small set rather than dozens of nearly identical pictures: one view of the room or fixture, one of the exact location, and one close view of the evidence. Add a short note with the date, time and address or room name. If you are reporting activity across a block of flats, use a consistent room or unit label rather than relying on image order. Keep the original files where possible; cropping and messaging apps can remove useful detail.
Photograph the surroundings before the close-up
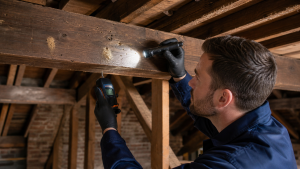
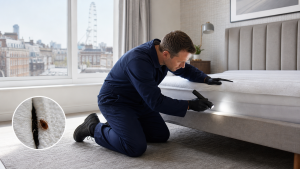
Stand back first. Show the cupboard, skirting board, window frame, pipe run, mattress seam or bin store where the sign appeared. Include a fixed feature so someone who has never visited the property can find the place. Then take a middle-distance image that shows the precise corner or joint. Only then move closer. This order helps a technician understand the route between a possible source and the place where you noticed the problem.
For a suspected entry point, photograph both sides if they are safely accessible. A gap around a pipe may look convincing from inside a cupboard but lead only into an enclosed cabinet; the other side may reveal a service void or an outside wall. Do not remove electrical covers, climb onto a roof or reach into a live service area for a better angle. A useful record can also show that part of the route remains inaccessible.
For recurring sightings, take the same wide view on different days. That makes it easier to compare locations and numbers without relying on memory. If you have used a monitoring card supplied by a technician, photograph the whole card, its label and its position before moving it. Follow the technician’s instructions about whether the card should be replaced.
Show scale without handling the evidence
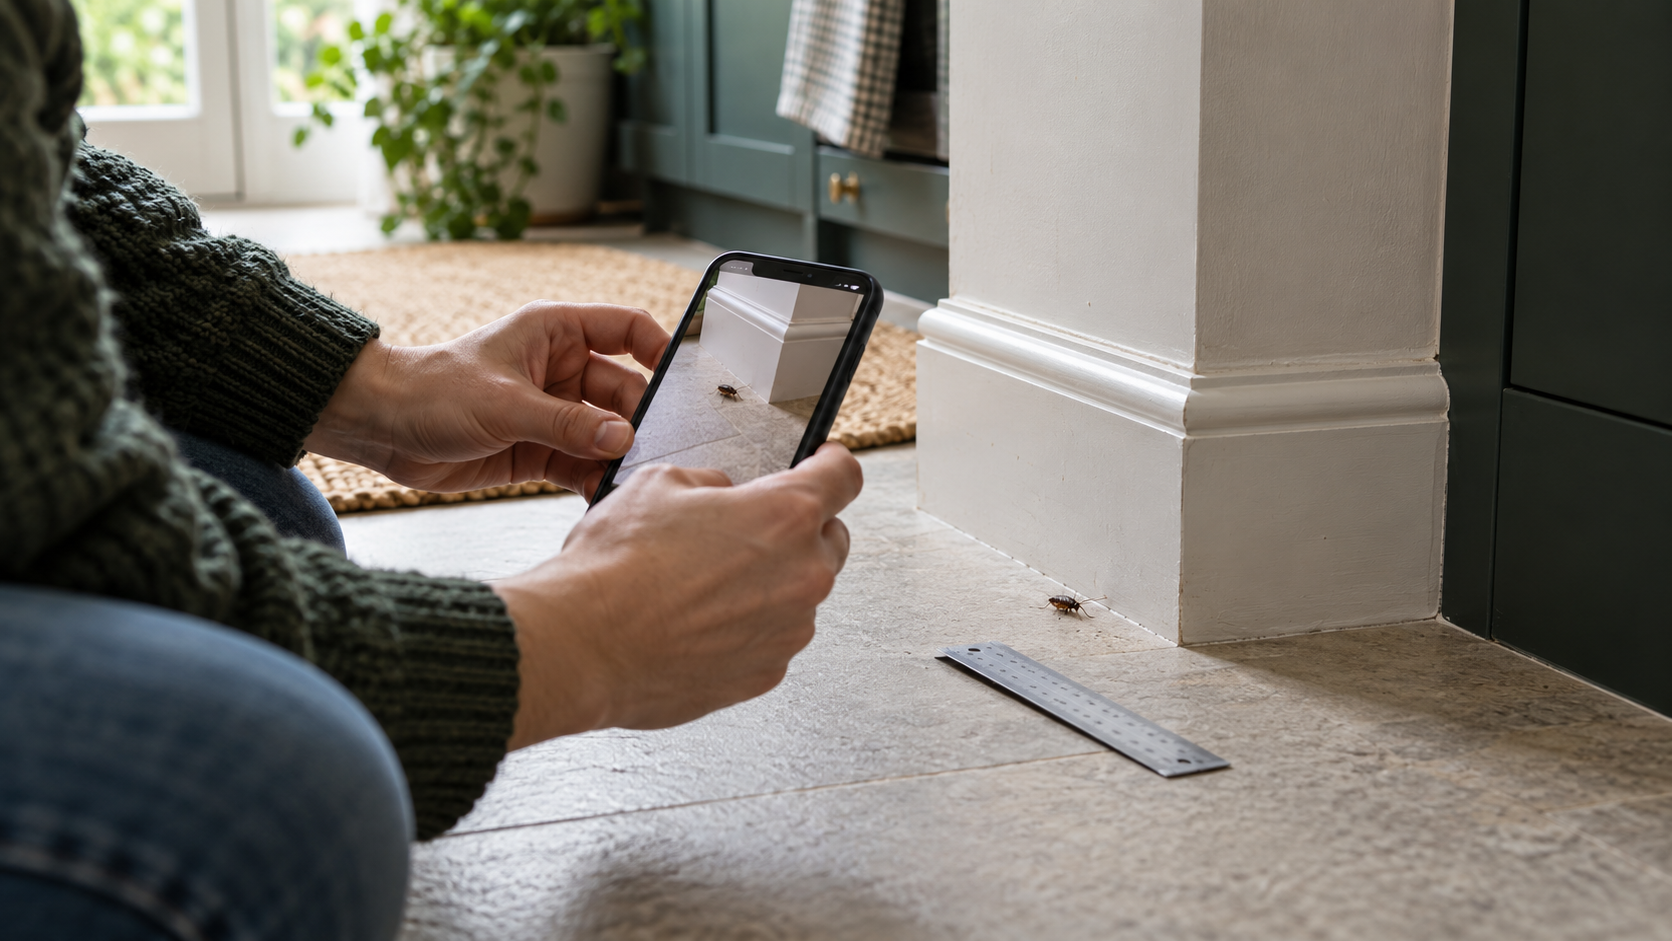
Scale matters because a close-up can make a small insect look enormous. Place a ruler, coin or another familiar object beside the sign only when you can do so without contact or disturbance. Keep both objects on the same surface and roughly the same distance from the lens. A ruler held nearer the camera can give a misleading comparison.
Do not put a coin into food, bedding or a contaminated patch just for a photograph. You can instead photograph a nearby tile joint, screw head or other fixed feature, then measure that feature separately. When evidence may be droppings, photograph it in place and leave it alone. UKHSA guidance warns against sweeping or vacuuming rodent urine, droppings and nests because disturbance can put material into the air. If cleaning is necessary, follow suitable guidance for the situation or ask a professional about the safest method.
Record the size you actually observed, not a guess from a zoomed image. If the subject moves away before you can measure it, write “approximately” and explain your reference. A picture with honest uncertainty is more useful than a precise-looking but unreliable number.
Get a clear picture of a moving insect
Use daylight or a bright lamp where possible. Hold the phone steady, tap the subject on the screen to focus, and take several frames from the side and above. Try the phone’s normal camera before using digital zoom, which often enlarges blur rather than adding detail. If the insect is on a wall or floor, a short video can show movement, but still take a sharp still photograph for easy comparison.
Many household insects look similar when photographed from one angle. Colour may change under warm lighting, and a damaged specimen may lack identifying features. Photograph the back, side and any obvious wings or antennae if they are visible without touching it. Do not use a spray simply to stop it moving for the camera. A single image may support a likely identification, but a technician may need a specimen or an inspection before naming the species confidently.
If an insect is safely trapped under a clear container on a clean surface, photograph it there. Avoid trapping stinging insects or disturbing a nest. If someone has had a serious allergic reaction or breathing difficulty, seek urgent medical help instead of spending time on identification photographs.
Record damage and the material around it
Damage makes more sense when the affected material is visible. For a hole in wool, show the whole garment, the pattern of holes and a close view of any larvae or cases. For a damaged food packet, photograph the unopened surroundings and the packet label before discarding contaminated food. For a gnawed cable, photograph from a safe distance and arrange an electrician’s assessment; do not touch exposed wiring.
Try to show whether there are fresh signs: loose fibres, new dust beneath a hole, recently damaged packaging or repeated marks in the same place. A photograph cannot prove when every mark was made. Date-stamped views taken over several days are more useful for judging change than a single dramatic image. If you suspect a rodent but cannot see one, the guide to mouse and rat droppings can help frame the questions to ask without relying on size alone.
Keep a simple observation log
A picture is strongest when paired with a few facts. Write down when you saw the sign, exactly where it was, whether it moved, how many you saw, and what had changed recently. Mention a leak, a delivery, second-hand furniture, building work, an empty neighbouring flat or a treatment visit if it may be relevant. Separate observation from interpretation: “three small insects on the bedroom window sill at 08:00” is stronger than “a severe infestation”.
If several people are contributing, agree on one format. A shared list with date, room, evidence type and image filename prevents the same sighting from being counted several times. Keep names and personal details out of a communal log unless they are needed for access or follow-up. In rented or managed property, a factual timeline can help a landlord or managing agent decide which rooms need inspection without assigning blame before the source is known.
Photographs that often mislead
There are limits to what a camera can establish. A red mark on skin does not identify the insect that caused it; many conditions and bites look alike. A dark pellet could be a dropping, a seed or a piece of debris. A hole in wood may be old. One insect found on a windowsill may have flown in rather than bred indoors. Do not label a picture as a confirmed species or active infestation if that has not been checked.
It helps to photograph what is absent as well as what is present. A clean inspection card beside a card with catches, a dry area next to a wet one, or a repaired gap beside an unsealed gap can show useful contrasts. Avoid staging the scene. Moving insects or debris between rooms destroys location evidence and may spread a problem. If you are unsure whether a mark points to live activity, the article on finding droppings without seeing a pest explains why further checks may be needed.
Share the record securely and with a clear request
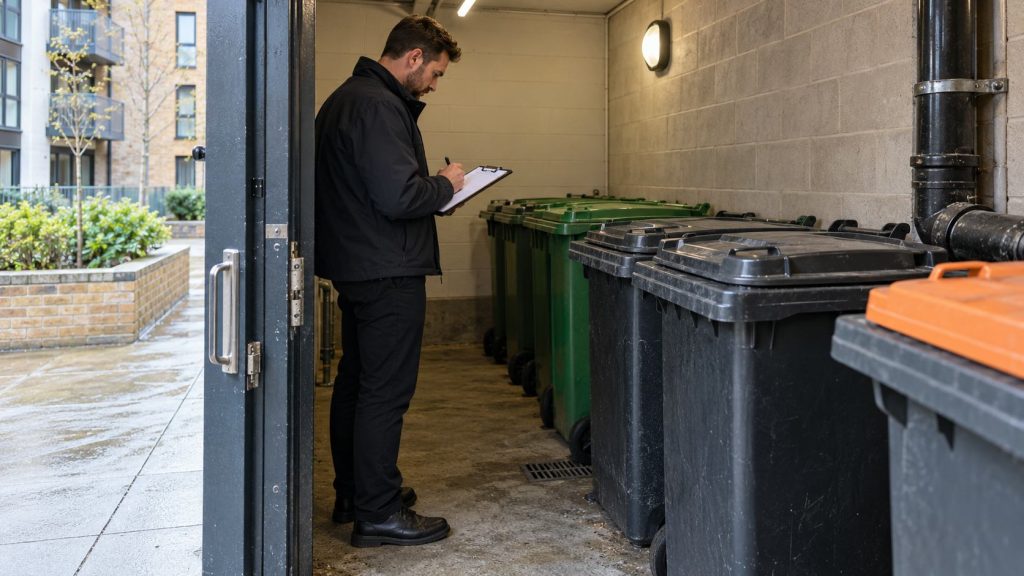
When contacting a pest controller, send a small selection of the clearest originals rather than a long stream of screenshots. State the property type, affected room, first and most recent sighting, and the question you want answered. Say whether children, pets or vulnerable occupants affect access or treatment planning. If you are in a flat, mention shared walls, ducts or bin areas only where you have observed a relevant sign.
Do not post photographs of someone else’s home, address, documents or personal belongings to a public group while seeking identification. Crop or cover private information only in a copy, retaining the original for the person carrying out the inspection. If a picture is inconclusive, ask what additional view would help. A competent professional should be willing to distinguish what can be inferred remotely from what requires a visit.
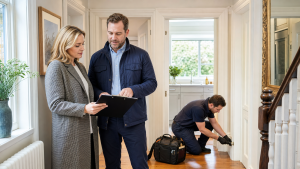
For repeated signs or unclear species, a pest inspection can connect the images to conditions on site. Photographs are useful preparation, not a substitute for examining likely harbourages, access routes and contributing moisture or food sources.
Know when to put the camera away
Stop photographing if the next image would require you to disturb a wasp nest, enter a cramped or unsafe void, touch droppings, move contaminated bedding through the home, handle a wild animal or approach damaged electrics. Keep people and pets away from the area where appropriate and arrange qualified help. If a food preparation area may be contaminated, protect food and follow the business’s hygiene procedure while seeking prompt advice.
After treatment, photograph only the agreed monitoring points and new evidence. Avoid repeatedly lifting traps, cleaning treated edges or opening sealed access panels for a picture. Ask the technician what activity is expected, what should be recorded and when to report a change. An agreed follow-up plan turns a set of images into a useful record of progress.
A practical photo checklist
Before you send anything, check that your set includes a room view, an exact location view and a focused close-up. Add a safe size reference or written measurement if relevant. Keep the date and location with each image. Note what you actually saw, any recent change and any uncertainty. Do not clean, spray, seal or move evidence solely to improve the photograph. If the sign is recurring, photograph the same spot again before the next scheduled inspection.
Good evidence makes the next decision easier. It may show that a harmless visitor has been mistaken for an established pest, or it may reveal a repeated pattern that needs attention. Either way, clear context and honest notes are more valuable than a dramatic close-up. If you want help deciding what to photograph next, use the site’s contact page to describe what you have found and request an assessment.

Al Joel is a practical writer and long-term property maintenance specialist focused on real-world pest control, home safety and prevention advice. His guides translate common warning signs into clear next steps for homeowners, tenants, landlords and property managers.His approach begins with correct identification. A sighting in one room may originate from a neighbouring flat, service riser, drainage, roof space, delivery or communal waste area. Al explains how to preserve useful evidence, reduce food and water sources, avoid spreading activity and choose proportionate treatment.What readers can expectClear identification clues and practical inspection stepsSafe preparation, cleaning and aftercare guidancePrevention advice for homes, flats and commercial premisesHonest guidance on when DIY is reasonable and when professional help is the smarter optionWhen professional help makes senseRepeated sightings, activity in several rooms, uncertain identification, vulnerable occupants or signs involving food, electrics and shared building routes deserve a professional inspection. A lasting solution normally combines targeted treatment with proofing, hygiene and follow-up monitoring.Explore the Pest Library, learn how treatment works, or request property-specific advice.